March 28, 2025
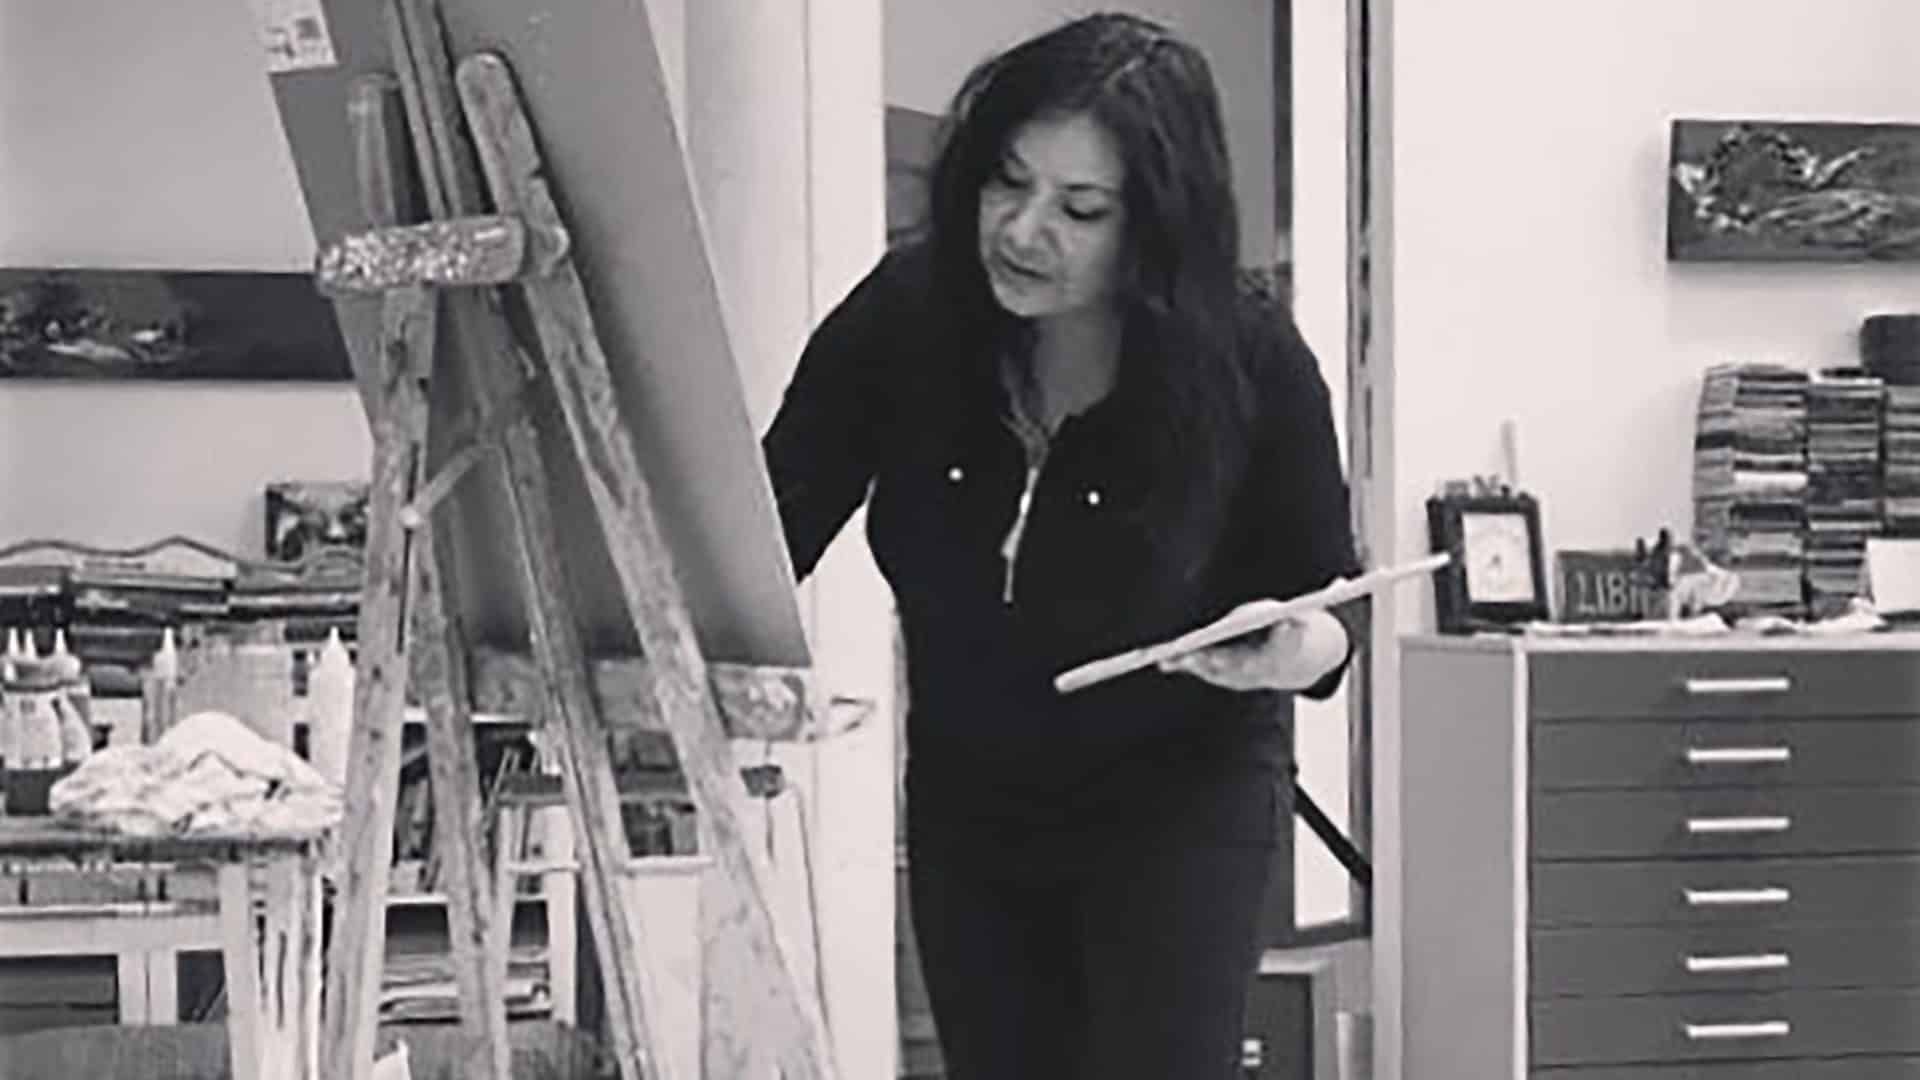
Oil painting has been a favorite of artists for centuries because of its richness, flexibility, and slow drying time, which allows for blending and layering. If you’re new to this beautiful medium, don’t worry, this guide will take you through every stage, step by step.
Before you begin, you’ll need the following materials:
Essential Materials:
Oil painting can get messy. Set up in a well-ventilated area with good lighting. Use newspaper or a drop cloth to protect surfaces. Keep your materials organized and within reach.
Most store-bought canvases are pre-primed with gesso and ready to use. However, if you’re using raw canvas or want a smoother surface:
Use a light pencil or thinned paint (burnt umber works well) to outline your composition on the canvas. This helps guide your painting without being too bold or distracting.
An underpainting is a monochrome version of your final image. It helps define values (light and dark) and structure.
Let it dry before moving to the next stage.
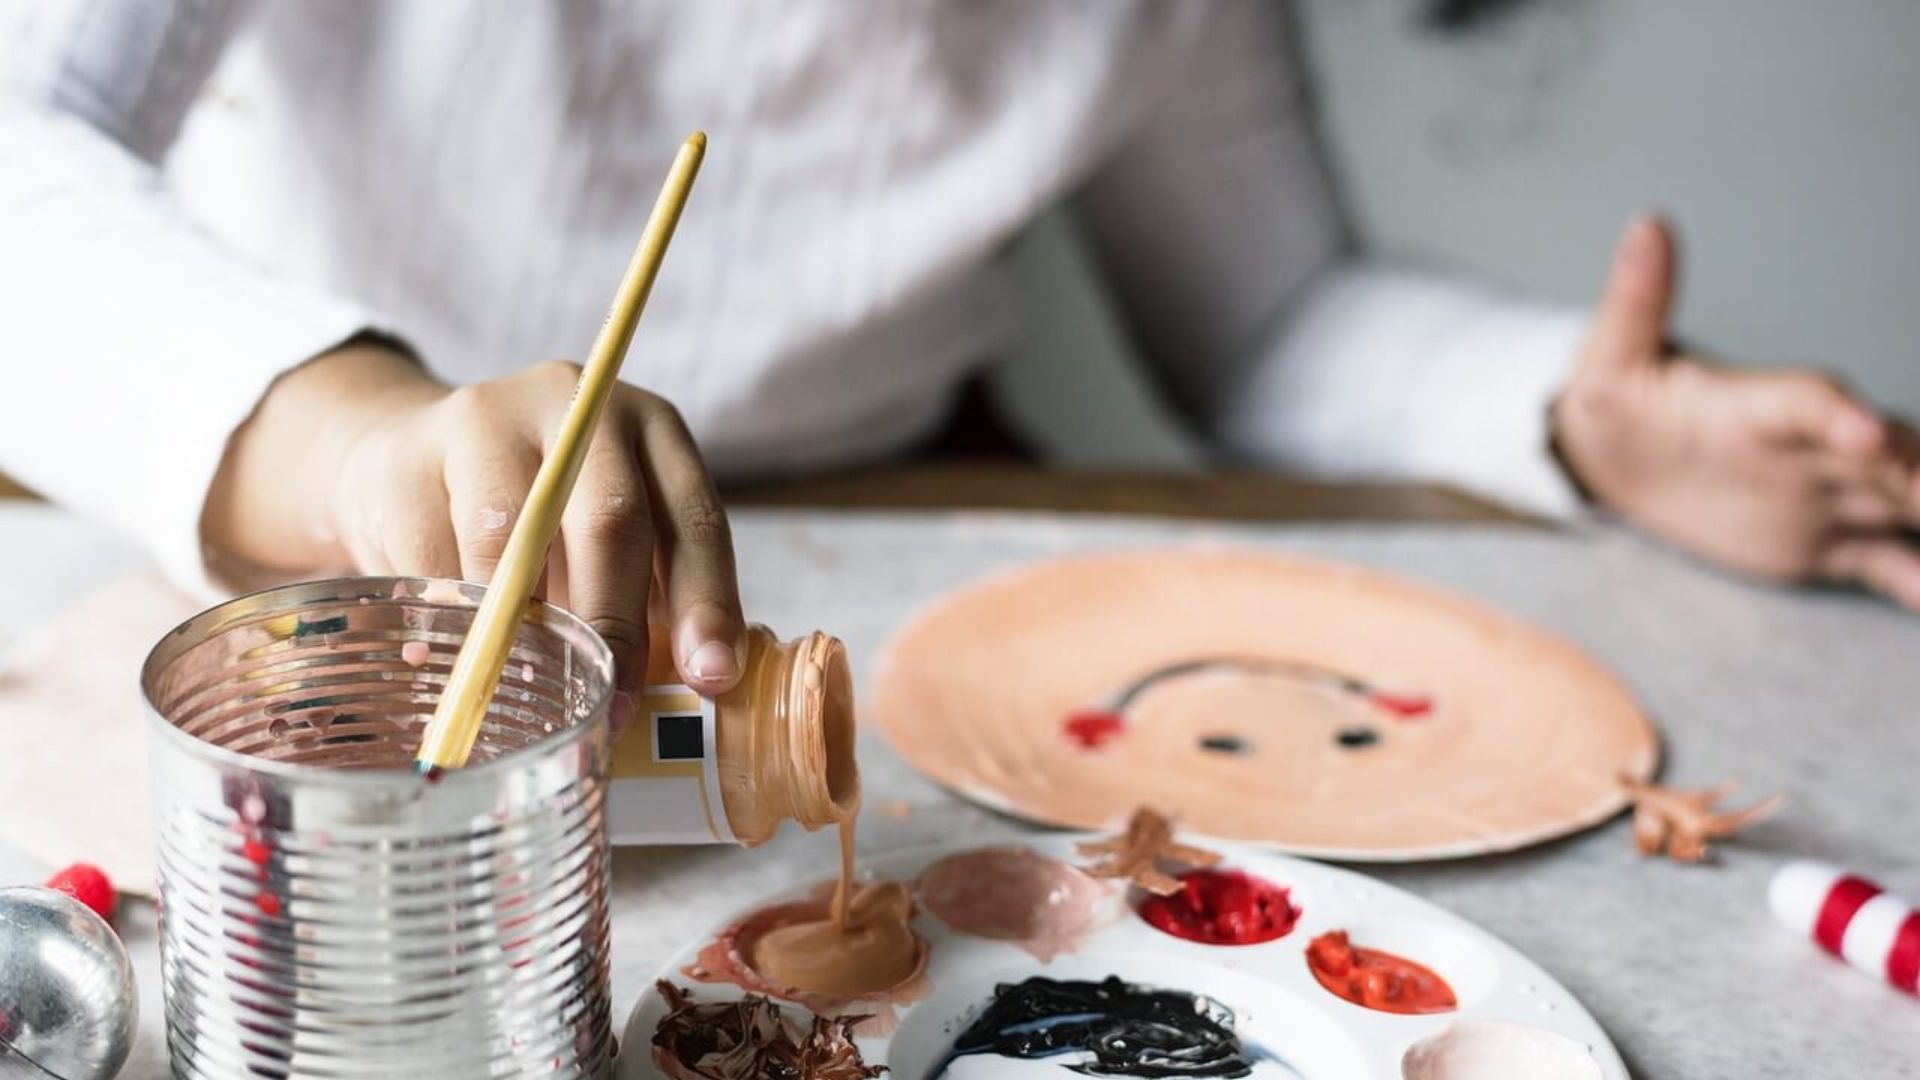
Using your palette, mix your colors before you begin painting. Start with simple mixes and slowly add complexity. Keep a palette knife handy for cleaner, more accurate mixing.
This is where you start building your painting in layers:
Start with broad shapes and background, then move to details and highlights.
Oil paint takes time to dry—anywhere from 1–14 days, depending on thickness and medium used.
Once the main layers are dry or semi-dry, refine your painting:
Clean your brushes thoroughly with turpentine or mineral spirits, then wash with soap and water. Wipe your palette and store paints properly (seal tubes tightly).
Tip: Store used rags in a metal container with a lid. Oil-soaked rags can be flammable.
Once the painting is finished:
After the painting has fully cured (usually after 6 months), apply a varnish to:
Use removable varnish specifically made for oil paintings.
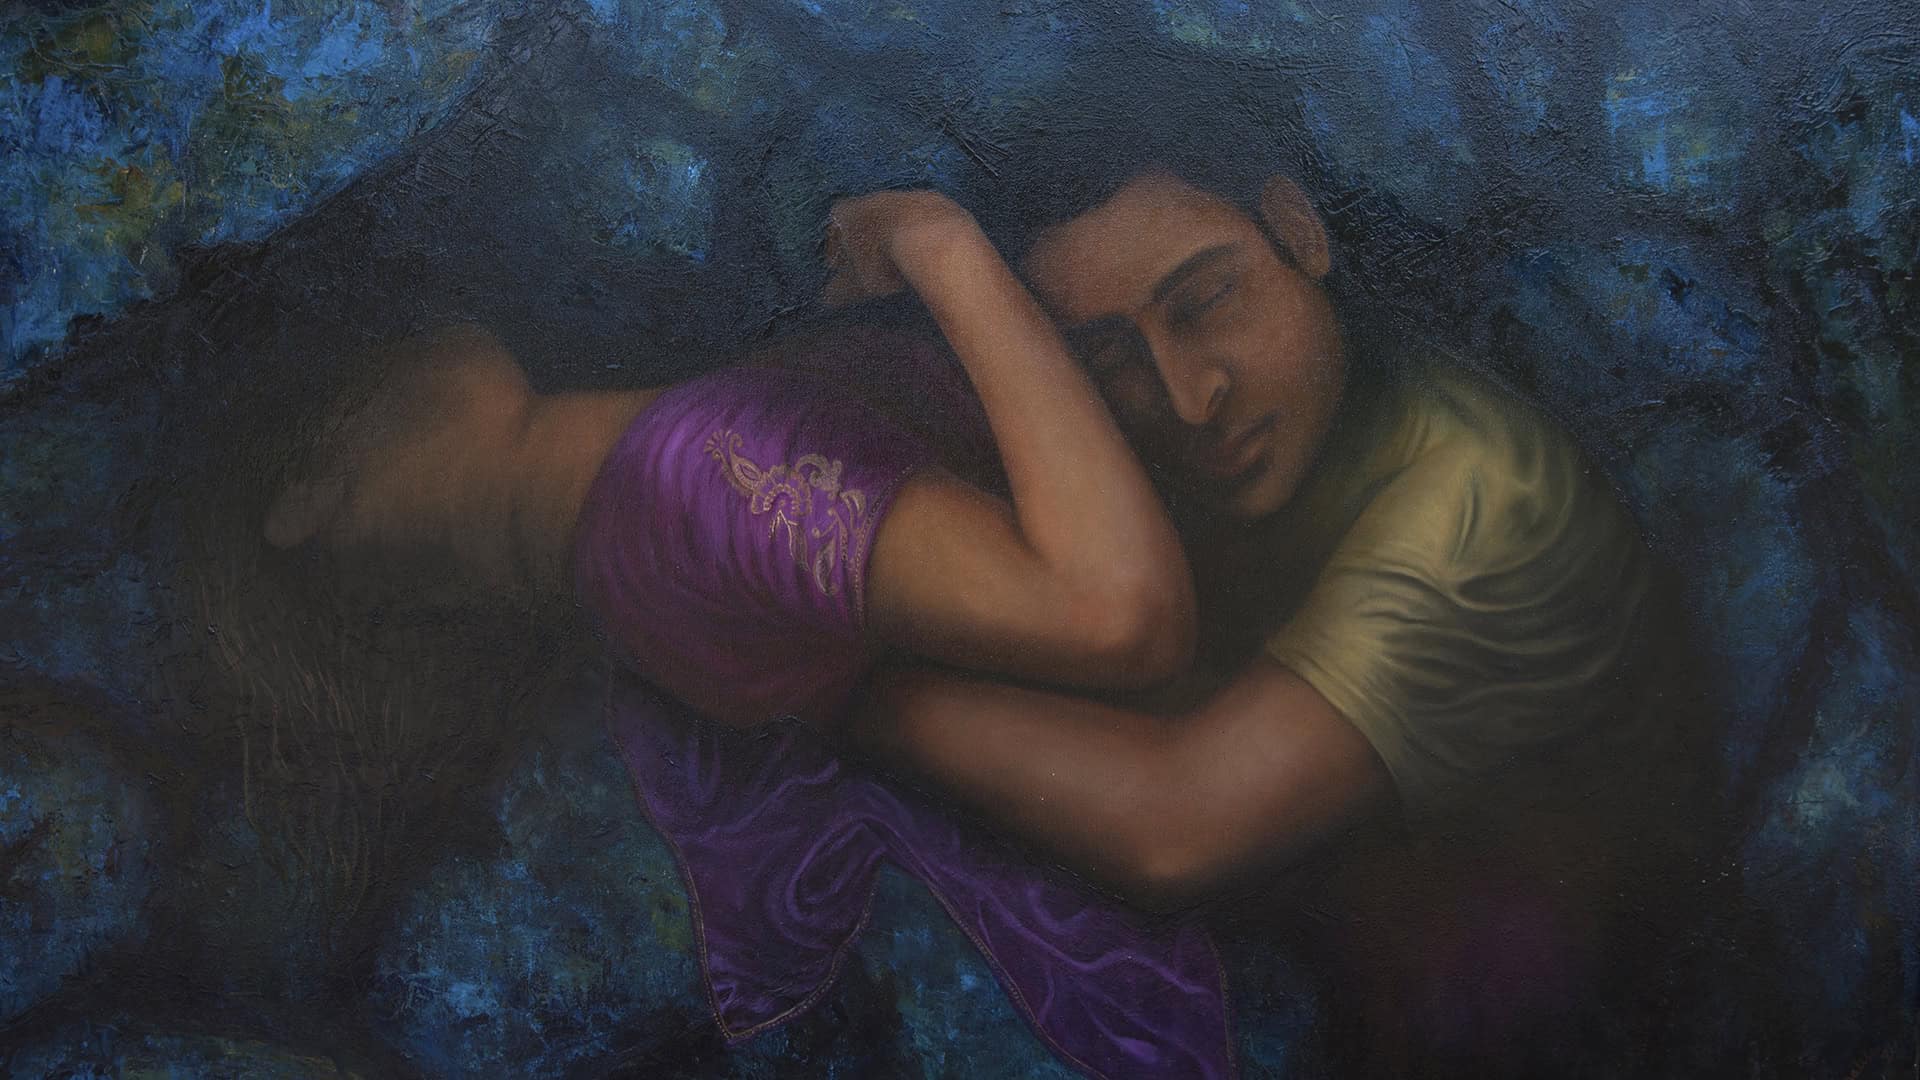
Oil painting takes patience, observation, and practice -but it’s a deeply rewarding medium. With time, you’ll develop your own style and rhythm. Don’t be afraid to make mistakes or revisit old paintings. Every canvas is a learning opportunity.
La pintura al óleo ha sido una de las técnicas favoritas de artistas de todo el mundo durante siglos – por su textura, profundidad y por lo fácil que es trabajar con ella. Su secado lento te permite mezclar colores, crear capas y lograr acabados únicos. Si estás empezando en este hermoso medio, no te preocupes. Aquí te dejo una guía paso a paso para que te animes a pintar como todo un profesional.
Antes de comenzar, asegúrate de tener a la mano lo básico:
Materiales esenciales:
La pintura al óleo puede ser un poco desordenada, así que busca un área bien ventilada y con buena luz.
Cubre la mesa o el piso con papel periódico o una lona.
Mantén todo organizado y a la mano – te va a facilitar mucho el proceso.
La mayoría de los lienzos que venden ya vienen preparados con gesso, listos para usar.
Pero si tienes uno sin preparar o quieres una superficie más suave:
Con lápiz suave o pintura diluida (siena tostada funciona bien), haz un boceto ligero sobre el lienzo.
Esto te servirá de guía sin marcar demasiado la superficie.
Una pintura base o “underpainting” es una versión monocromática de tu obra final.
Te ayuda a definir luces y sombras antes de aplicar color.
Usa un solo tono (como siena o sombra tostada) y:
Coloca un poco de pintura en tu paleta y comienza a mezclar con la espátula.
Empieza con combinaciones simples y poco a poco explora tonos más complejos.
Evita mezclar directamente con el pincel para mantener los colores limpios.
Este es el principio más importante del óleo:
Las primeras capas deben ser más “delgadas” (más solvente, menos aceite)
Las últimas capas deben ser más “gruesas” (más aceite, menos solvente)
Esto evita que la pintura se cuartee al secarse.
Empieza con las formas grandes y el fondo, y deja los detalles y brillos para el final.
La pintura al óleo seca despacio: puede tardar de 1 a 14 días, según el grosor y los medios usados.
Cuando las capas principales estén secas o semi-secas, es hora de refinar:
Limpia tus pinceles con aguarrás o esencia mineral, y luego con agua y jabón.
Limpia la paleta y cierra bien los tubos de pintura.
Importante: Los trapos con aceite pueden ser inflamables. Guárdalos en un recipiente metálico con tapa.
Coloca tu pintura en un lugar ventilado y libre de polvo.
Dependiendo del grosor, puede tardar semanas o meses en secarse por completo.
Después de unos 6 meses, cuando la pintura esté completamente curada, puedes aplicar un barniz especial para óleo.
Esto ayuda a:
Pintar al óleo requiere paciencia, observación y práctica, pero el resultado vale totalmente la pena. Con el tiempo, descubrirás tu propio estilo y ritmo. Así que ponte el delantal, prepara tu paleta y ¡a pintar se ha dicho!